

Background
The school I work at used to be a community of 900 students from dozens of different nationalities. When the war (in Ukraine) started, most of the teachers left along with the vast majority of students.
With them went the teachers and resources that were part of a sophisticated, large-scale technology education program.
Some equipment was left, but much of it was spread out among the classrooms of a half-empty campus, hastily stored away before much of the staff fled the campus. Much of it went missing as well. I once went on a mission to try to comb through these classrooms and find anything useful, and it was a bit like going through Chernobyl, except in this case, everything had stopped on February 21st, 2022.
This year, we’ve decided to try and rebuild that programming and put a higher emphasis on technology coursework and opportunities for students to engage in fields like programming, 3D-printing, graphic design, electronics and really just core-problem solving using the design cycle. These are especially important in a country like Ukraine, which had a burgeoning IT sector before the war and where these technologies are increasingly a part of the country’s survival.
One project central to this, that I’ll be running this year, involves creating a new Makerspace and integrating this into the school community.
Designing the Space
Recently, the walls between 3 rooms were knocked down to create this space, on the 2nd floor of our main building.
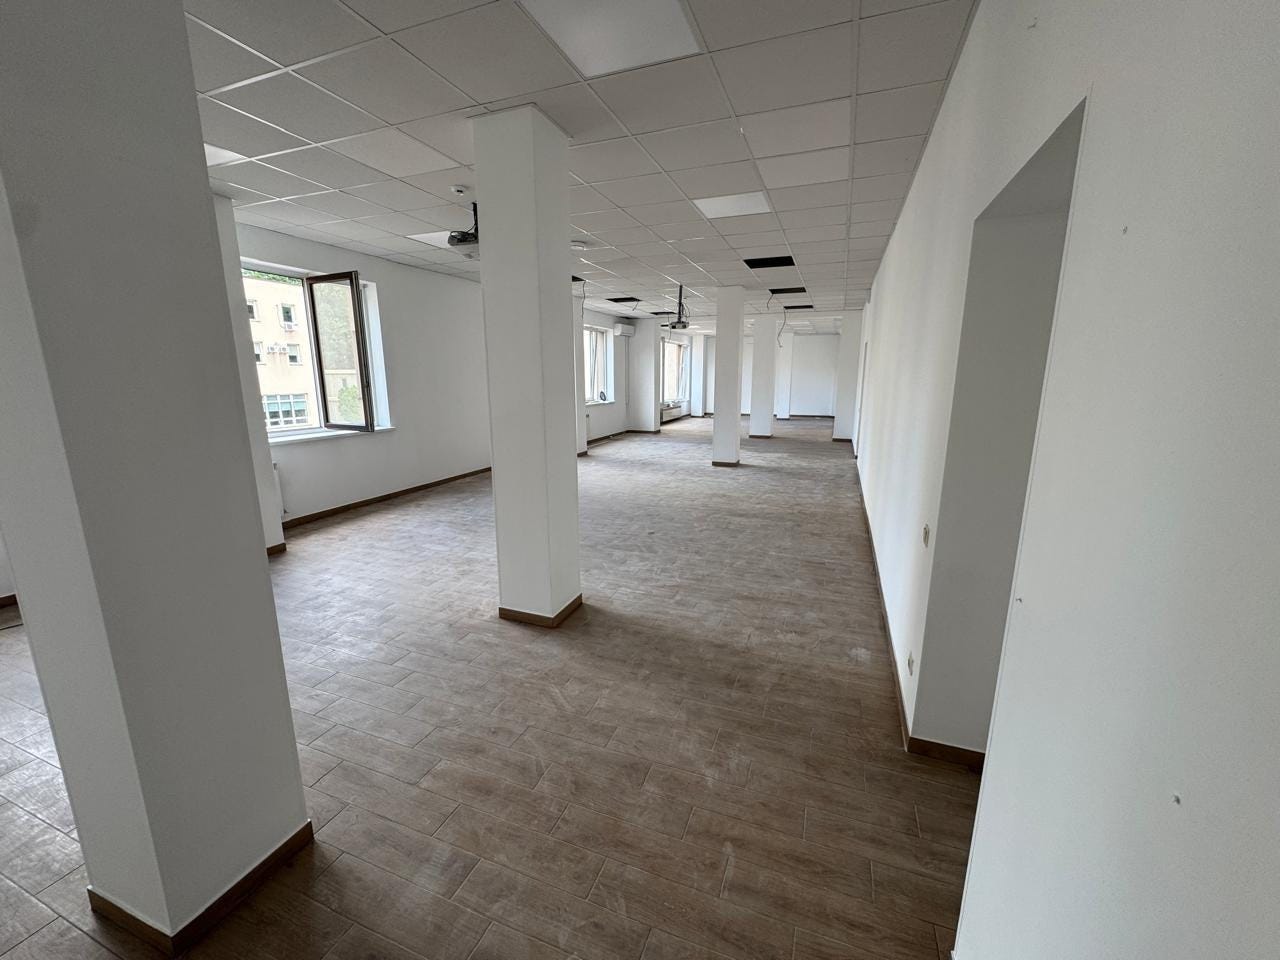
The object of this project is to create a facility with equipment that students can use to design and create physical and digital products as part of their coursework in a wide variety of classes.
For example, last year I ended up teaching Middle School history. I had students build mosques with LEGOs, create posters and put on plays. In this space, students would be able to use those LEGOs and store their projects, create those posters using art supplies, but also maybe use a robotics set to understand some of the advances made by scientists during the medieval period or use VR headsets to explore certain historical monuments.
The space is also meant to be a repository for teachers to access equipment and resources they might not otherwise have in their classroom. This is especially true for teachers in the humanities and mathematics who want to incorporate hands-on experiences into their instruction.
Makerspaces in general aren’t a new concept and have been around for over 2 decades on a community and institutional-level. So, in designing the space and choosing the equipment that will be in the space, I did extensive research on how other schools set up their Makerspace.
I haven’t actually seen the physical space yet to get exact dimensions, but I’ve already created a tentative floormap, given the resources I’ve ordered or am in the process of ordering.
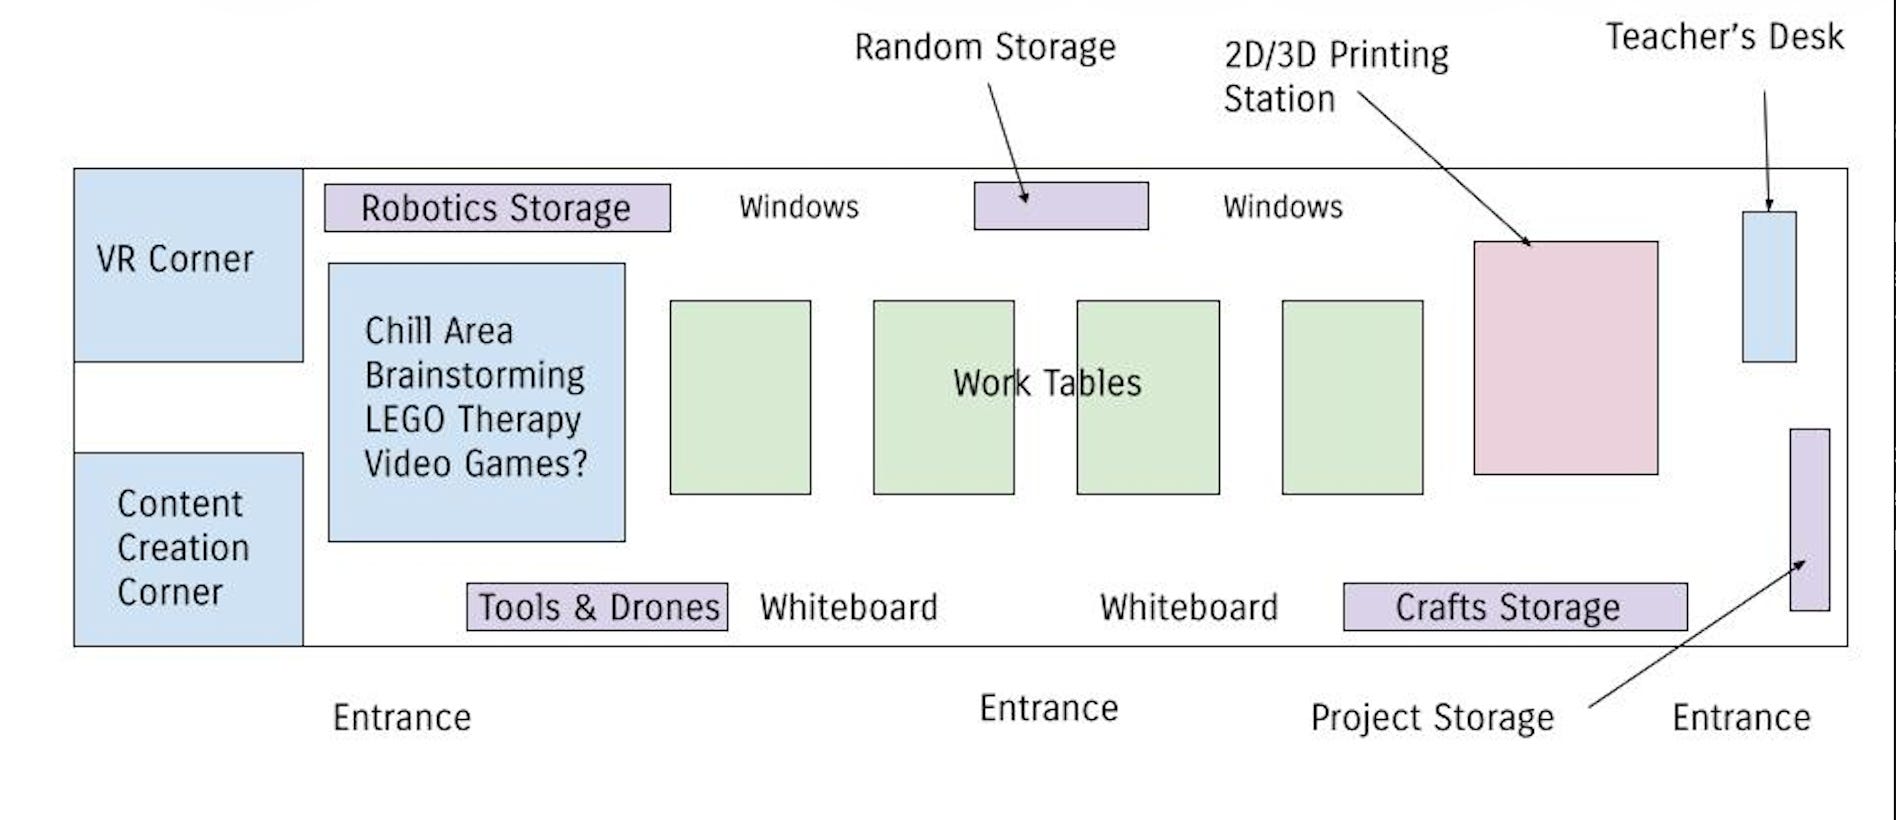
Because the walls between 3 rooms were knocked down to create this space, there are essentially 3 entrances, which I want to keep open in order to facilitate movement of multiple classes in and out of the space more easily.
I’ve also strategically designated certain areas. For example, I’d like the 2D/3D printing station to be next to the teacher’s desk, so that I can easily monitor them and make prints.
The center of the space will largely consist of work areas where students can build, design, study, and do whatever else they need to do, drawing on resources in the storage areas. There are also whiteboards and projectors in front of and above the tables to facilitate instruction, including mobile mini-projectors that can be placed where necessary.
The content creation space is something I haven’t completely thought through, but since we don’t have a dedicated media space, I did want to devote some space to the short-form filmmaking and media creation. The idea is to have a green screen, lighting, tripods and just some space to facilitate shooting video content, which our students love to do.
This, honestly, might subsume the VR corner and part of the chill area. The VR corner is mainly a place to charge VR headsets anyways.
The idea behind the chill area was to have an area students could use for brainstorming and relaxing in between tasks, as a way to build more of social, cozy feeling into the space. I’m not sure whether or not this is a good idea and I wouldn’t be opposed to giving parts of this space up to a more specific task.
In any case, this is just the first iteration, and I fully expect this to change based on the demands of the school community.
Equipment
This is a tricky one - we haven’t had a full Makerspace and rigorous program of technology instruction since before the war, with a very different student body, so I made these decisions based on what students had expressed interest in and what we’ll be teaching students in the upcoming academic year.
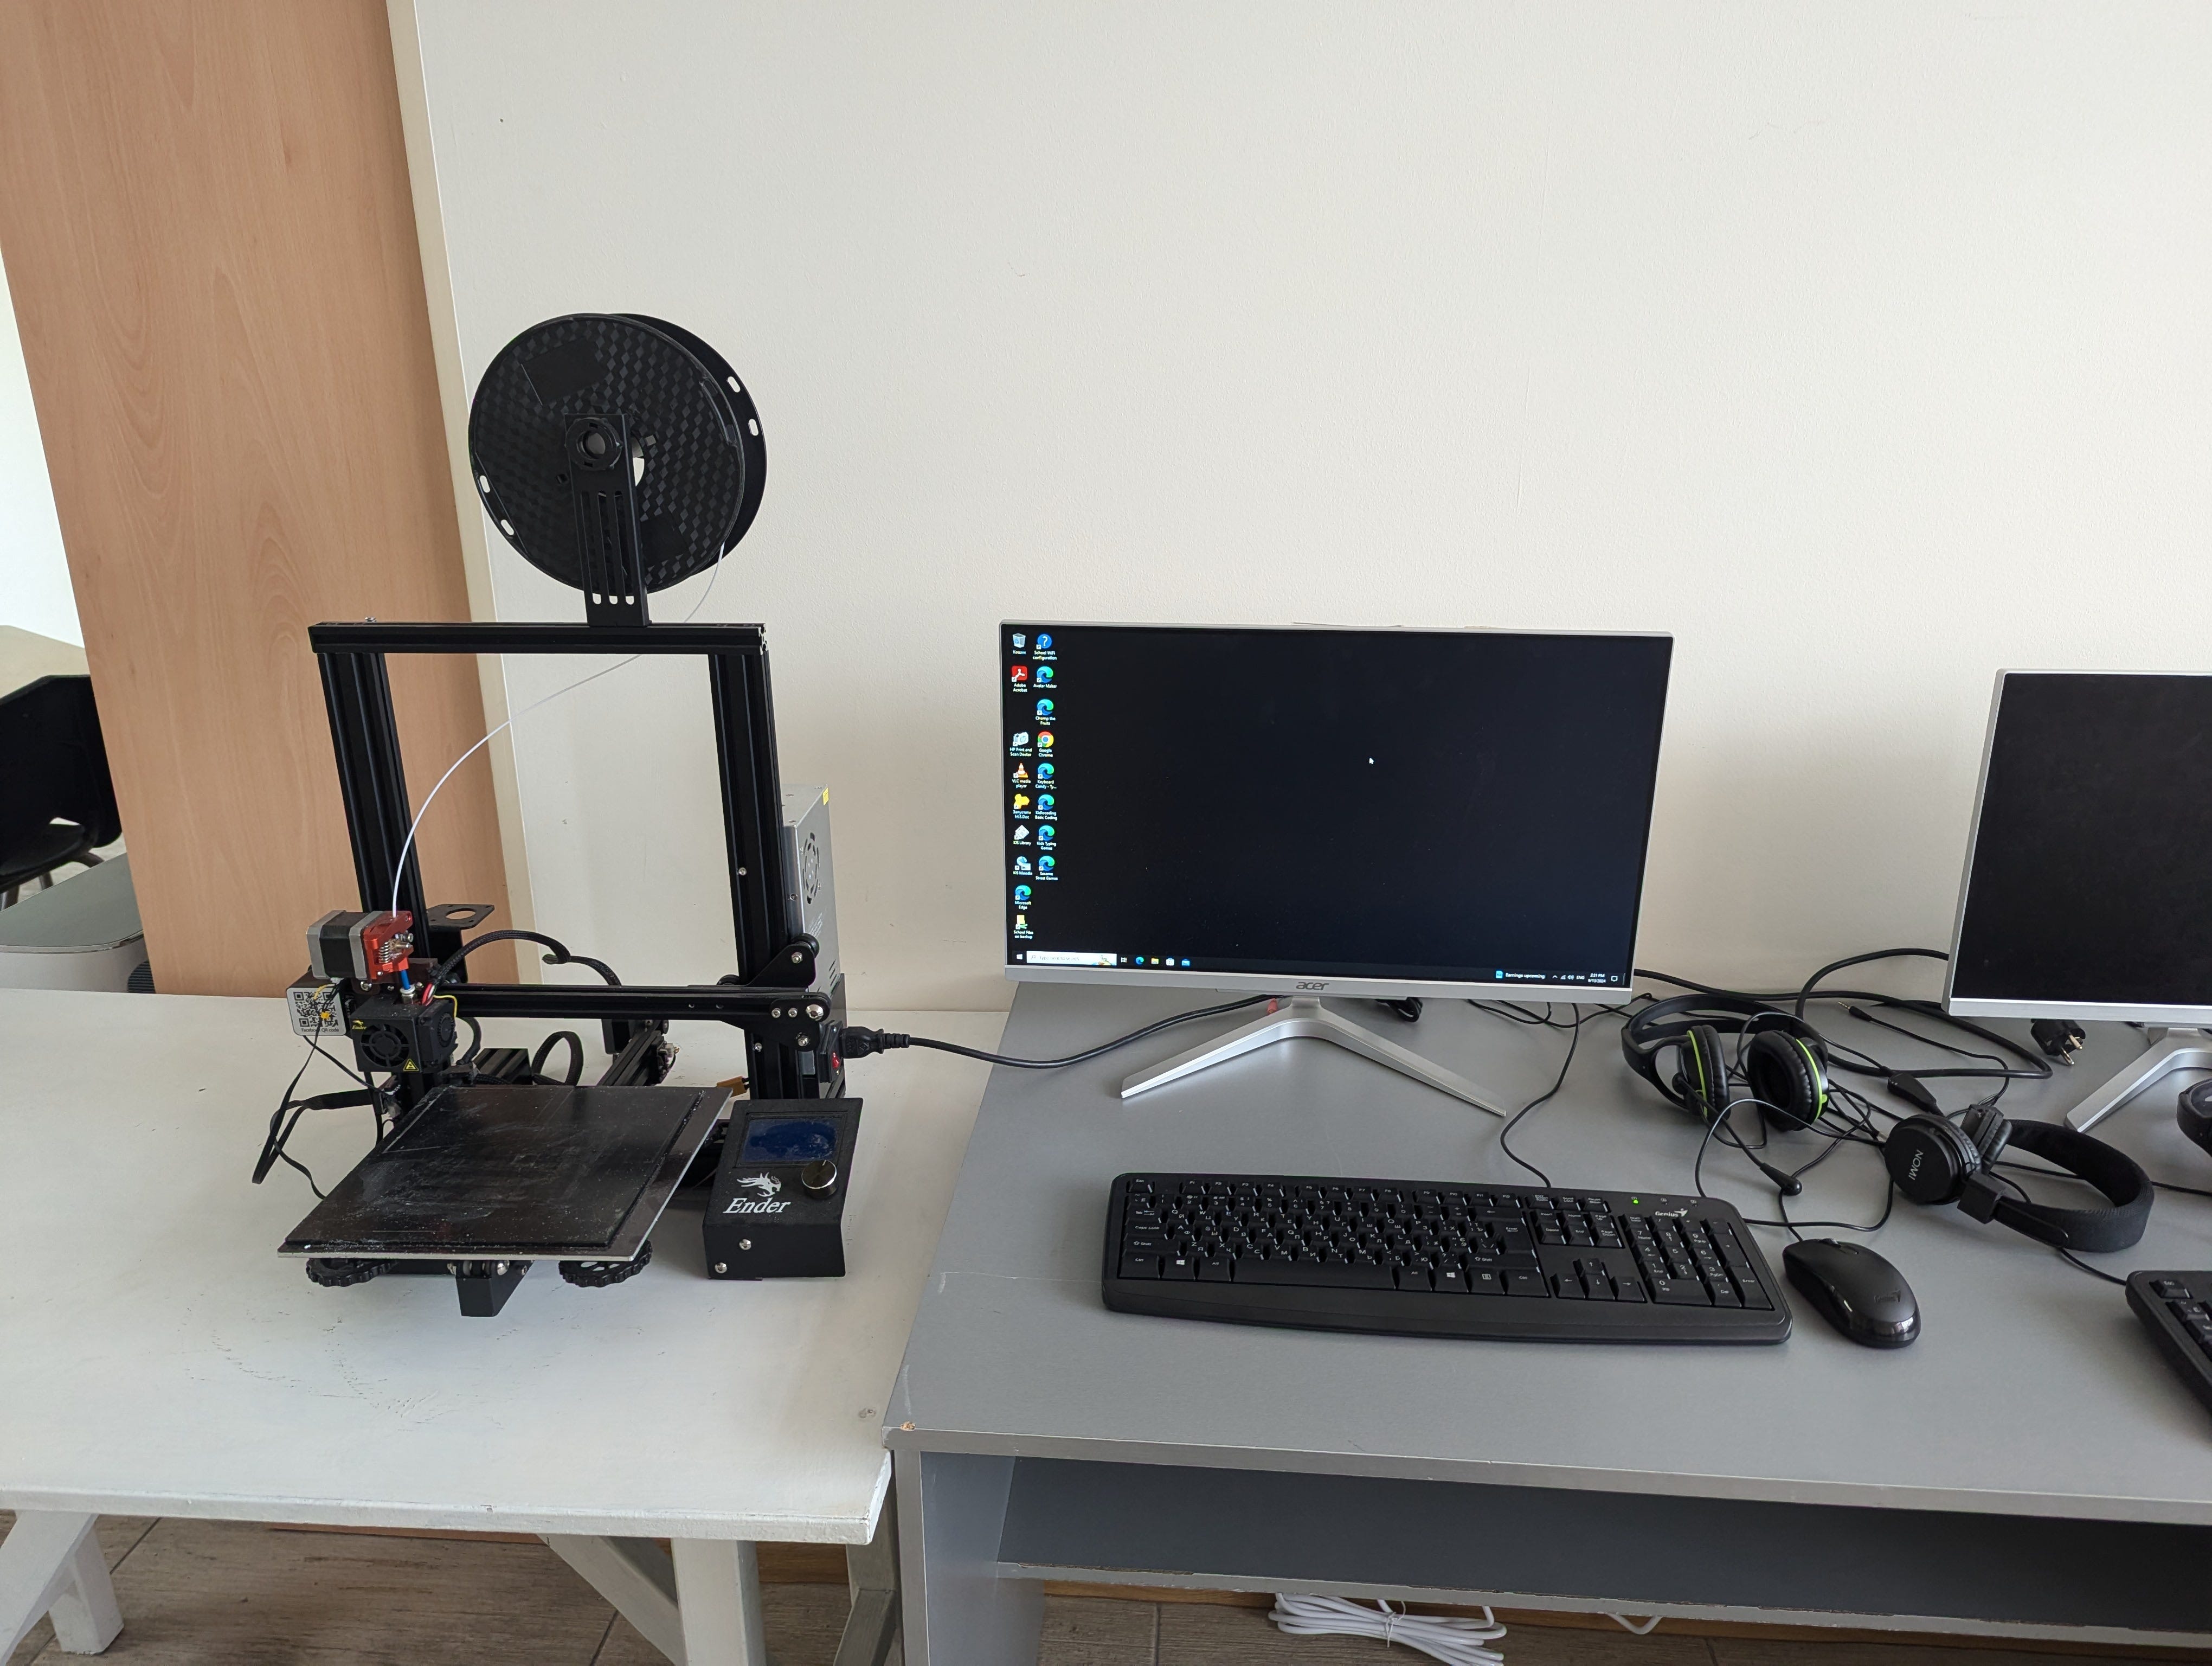
Firstly, I decided to purchase 2 additional 3D printers. While I had gotten some students into 3D design early on, it was hard to sustain the interest given how long it took me to print what they had created with only one 3D printer, so this was an obvious one, particularly since we’ll be introducing 3D design on a much larger scale this year. It’s hard to motivate students without showing them the fruits of their labor and getting them involved in the production process.
Secondly, I ordered a heavy-duty printer for crafts projects and a vinyl cutter. For a variety of reasons students design and create a variety of printed materials throughout the school year, and in addition, we will be covering graphic design this year in some of our technology classes. These tools will allow students to design and produce more sophisticated design projects than what is currently possible with our existing set of equipment.
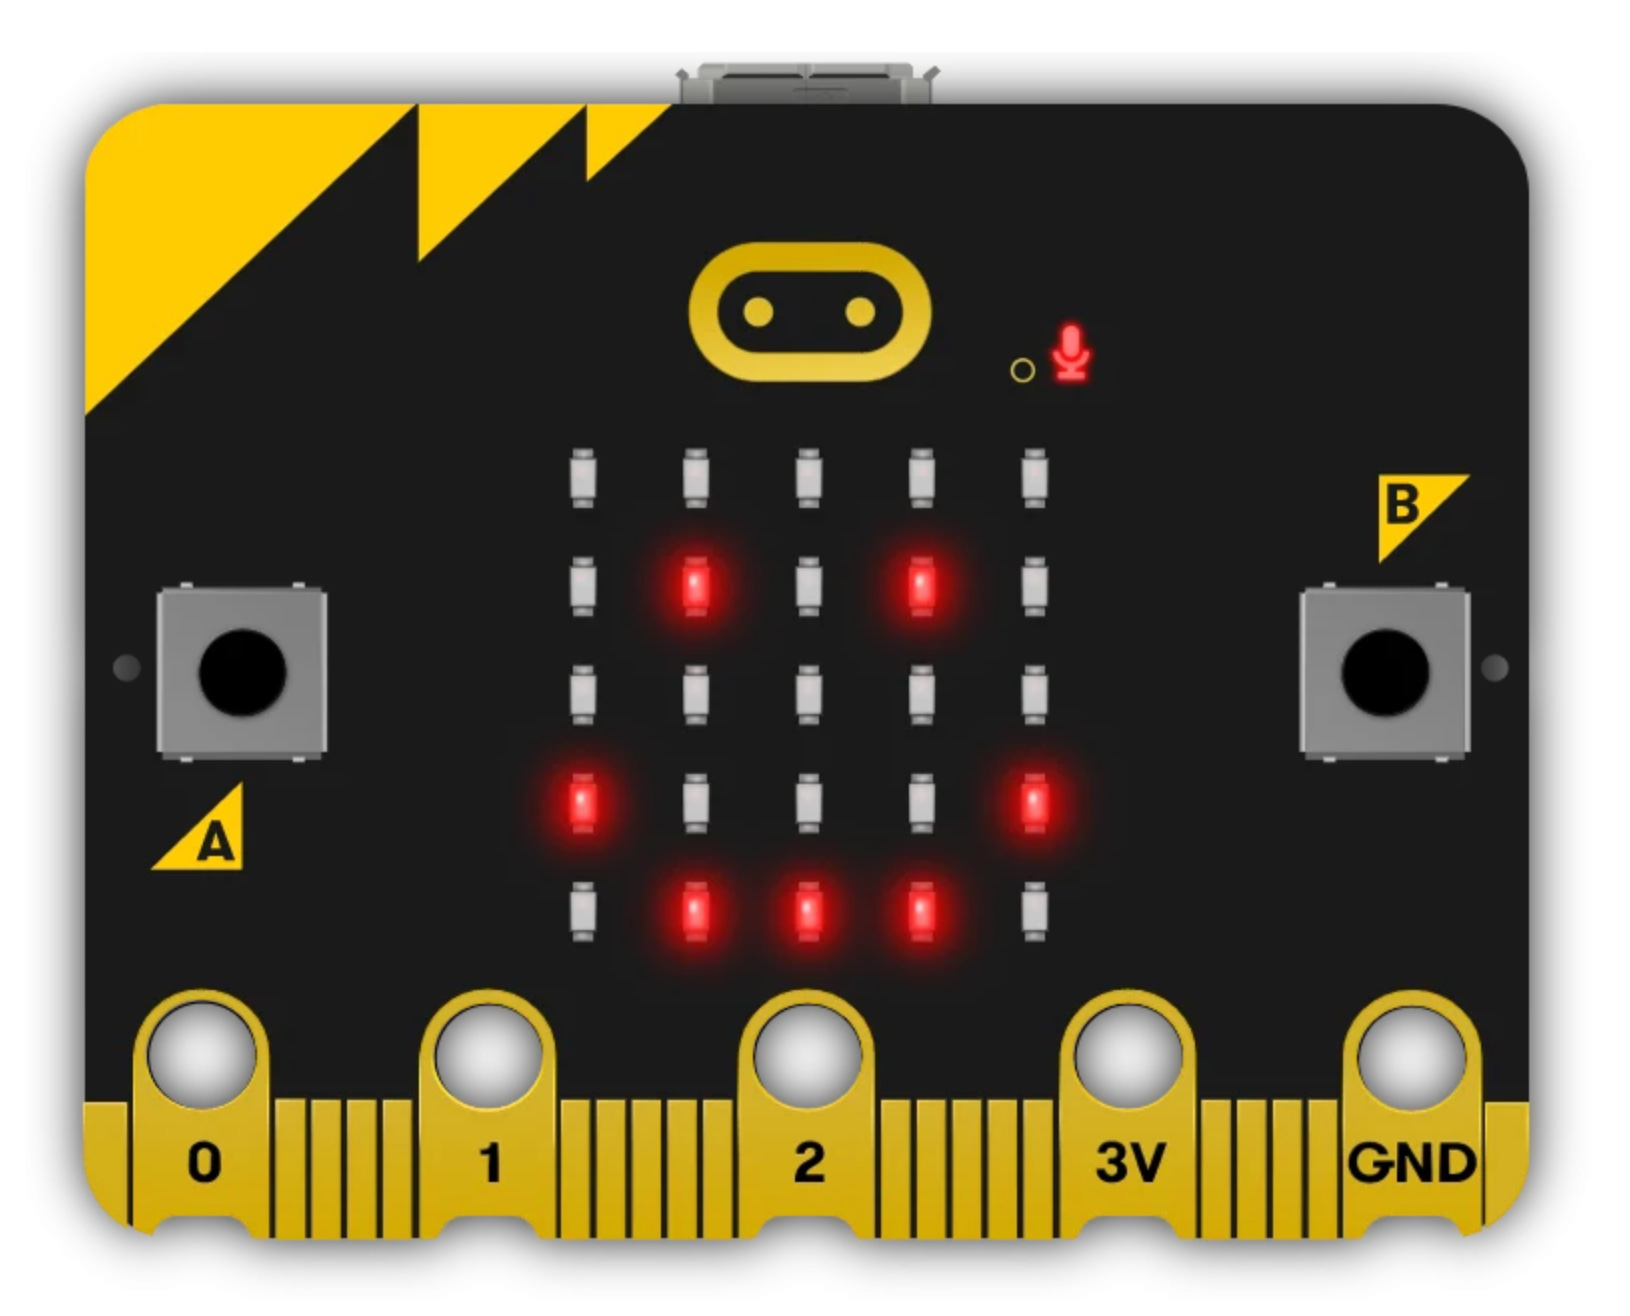
Thirdly, I decided to invest in BBC Micro:bit kits. These will be at the center of our efforts to help get students interested in robotics and physical manufacturing. I found these to be the most approachable to get students with little programming or electronics background building interactive electronic devices and they will be available to be checked out and also used in the space. I’ve also ordered basic electronic components and robotics sets that are compatible with these kits. These will be introduced both to IB Computer Science students and to students at lower grades in their technology classes.
Beyond that, I plan on investing in a wealth of tools and crafts equipment to allow students to make things using paper, cardboard, and balsa wood. We don’t really have the kind of classes or activities that would require woodworking, so I’m not as interested in buying tools for this purpose. However, it is a possibility in the future.
This is just a subset of the tools and materials I will be purchasing, but I think these are the most important to mention at this point.
Creating a Community Feel
This is something that I haven’t spent too much time thinking about yet. Physically, a lot of the furniture will be standard tables and shelves. However, I do want to add rugs, lighting, bean bags, and plants to make the place a bit cozier. This isn’t a priority, as I see it more as a workspace. However, I do want students and teachers to feel at home there.
In terms of drawing people into the space, I do want to host after school events and workshops for teachers, alongside regular school day activities. Particularly, I want to create events for teachers so that they can better understand the capabilities of the equipment in the Makerspace and how to design lessons that make use of these capabilities. This will be crucial to helping build technical literacy across the whole school community.
This is something I’m actively brainstorming about and is definitely a work in progress.
Being a software engineer, I did create a digital tool for teachers to reserve equipment and time for their classes to use the space. This is also linked to a Telegram feed that I can use to post information about events going on in the space. The idea is for it to function as a sort of digital “operating system” for the space.
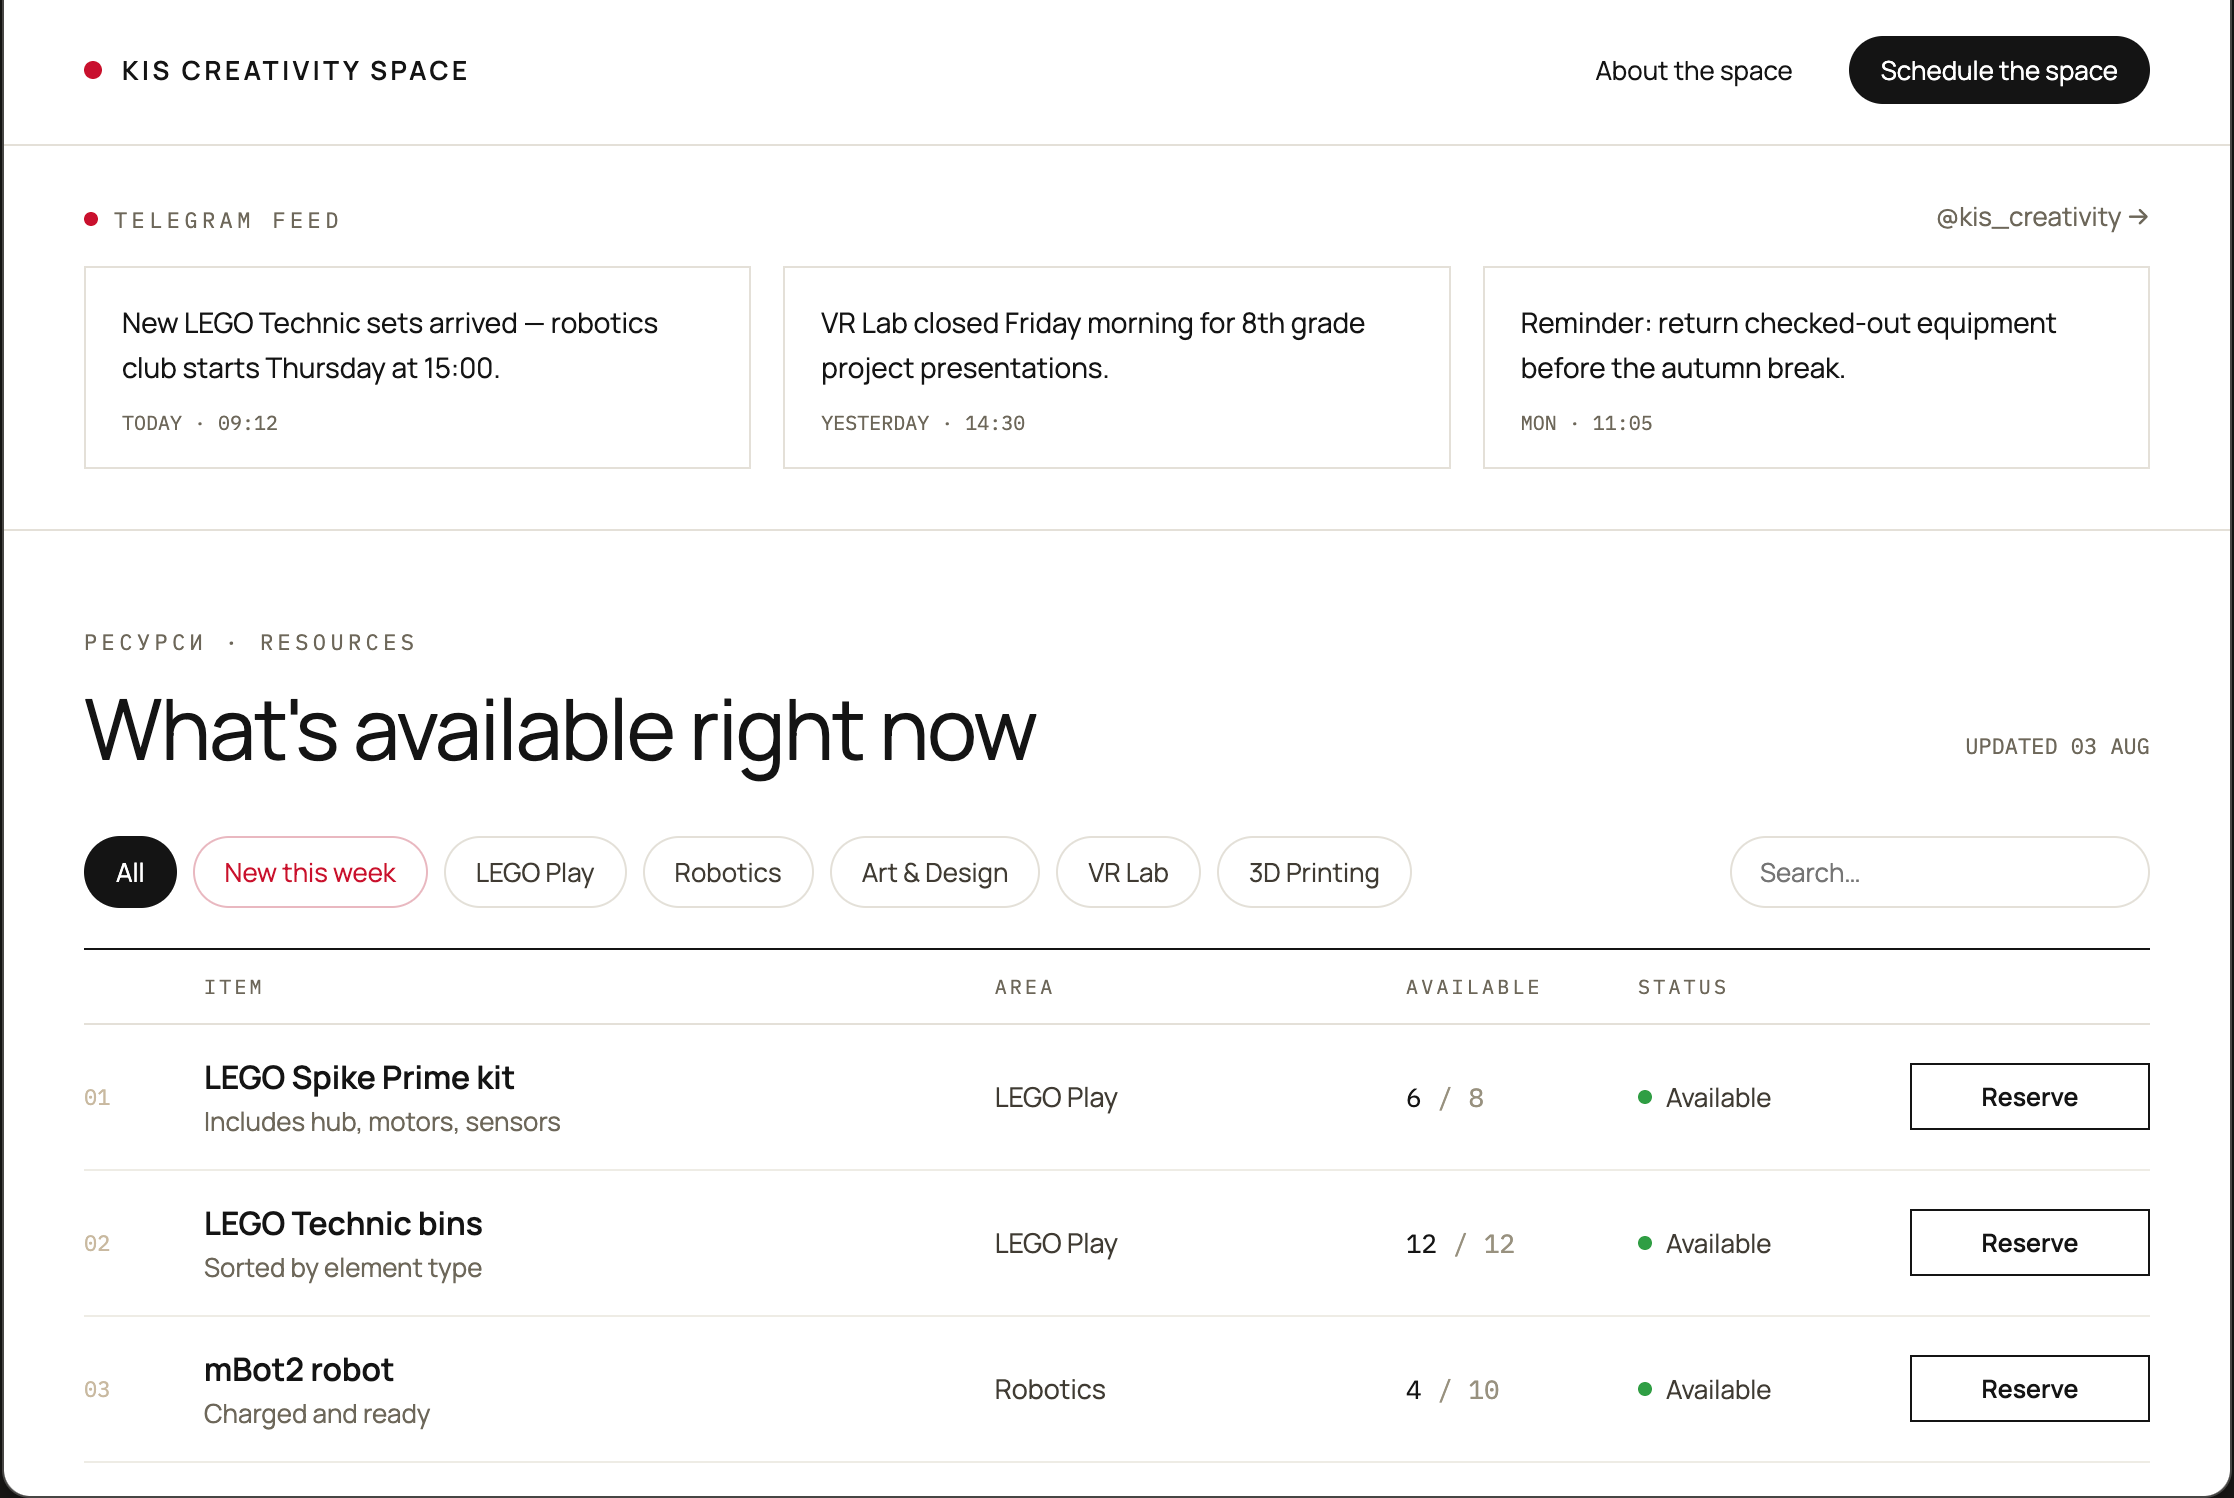
However, more on this in the next part of the series.
That’s it for now, but I plan on publishing a series of articles chronicling my journey through this process. If you got this far, thanks for reading and feel free to subscribe to my Substack!
Really like this, Amith. A bold undertaking but especially there. Good for you to take this on. (I still struggle to wrap my mind around 3D printing.)